An invoice lands in your inbox. Before anything useful happens, someone has to open the attachment, find the relevant details, and move them into another system. The same handoff happens with support questions, supplier updates, and requests from colleagues.
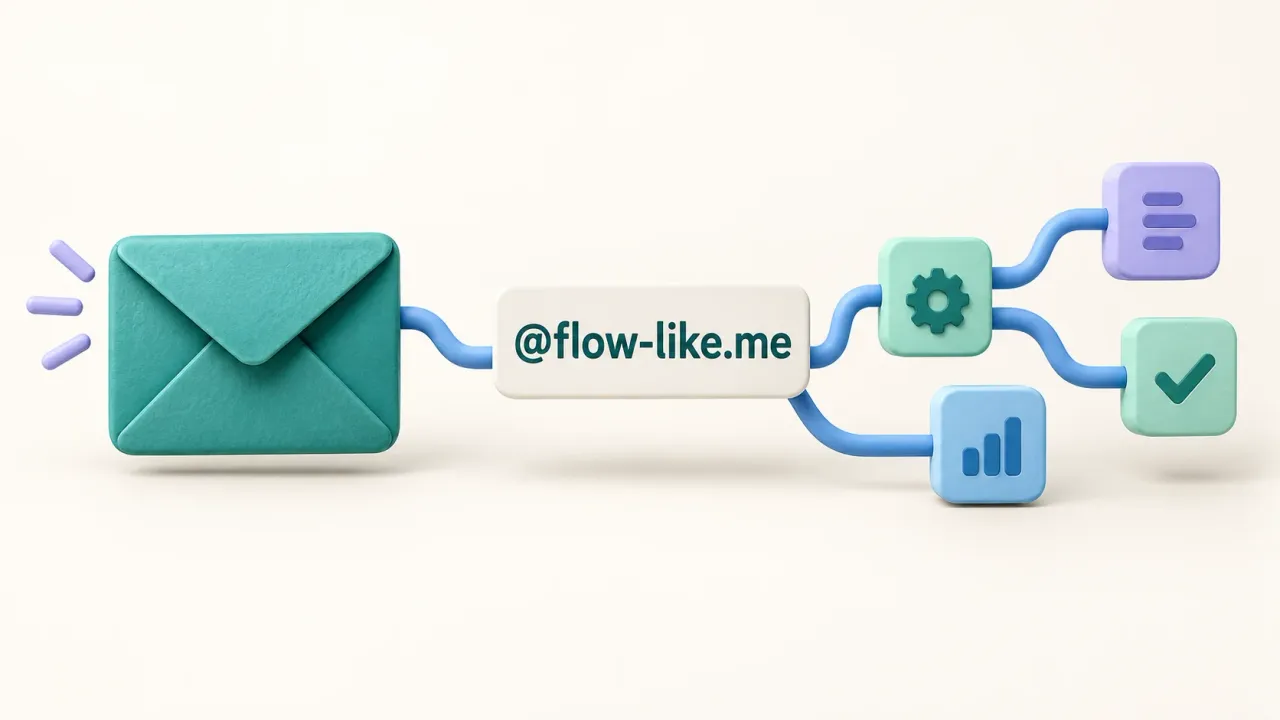
Now you can give that work its own email address. With Flow-Like’s new Inbound Email Event, you can claim an available @flow-like.me address and connect it to a workflow. An incoming message starts the flow, which can read the request, process its attachments, and take the next step you have defined.
That is the idea behind agentic mail: an email address with a workflow behind it. The sender uses their usual email app. You decide what happens when the message arrives.
An address for a particular job
Think of an address such as acme-invoices@flow-like.me. It gives people a destination for one kind of work. Your workflow could extract invoice details, check for a purchase-order reference, and add the result to a review queue in a system you already use.
Or give a support workflow its own address. It could read a question, look up relevant information in your knowledge base, and prepare a reply. A research workflow could turn forwarded newsletters into a digest. Each is a workflow you build around the same email trigger.
The address belongs to an Event, Flow-Like’s connection between an incoming trigger and a flow. Inbound Email runs on the server, so it can receive messages and start work while your desktop app is closed.
Claim your @flow-like.me address
Start with an app synced to an online Flow-Like profile. Enable Developer Mode to access the app’s Events workspace. In Studio, add an Inbound Email Event node to the flow you want to run. This is the entry point that receives the message.
Then connect the address to that flow:
- Create an Inbound Email Event in your app. Select the flow and its Inbound Email Event entry node, then choose the flow version it should run.
- Save the Event. The server assigns it a generated email address. Open the Event’s Email address section to see it.
- Choose your name. In Email alias (optional), enter the part before
@flow-like.me, such asacme-invoices, and select Save alias. Use an available name that describes your team or the job. - Activate the Event and send a test email. Check its run history to confirm delivery and inspect the message your workflow received.
Aliases use 3 to 64 lowercase letters, numbers, or hyphens, and must start and end with a letter or number. Some names are reserved; if a name is taken or reserved, choose another. The addresses in this post are examples, not a promise of availability.
Your generated address stays the same when you change the alias. That gives the Event a stable destination alongside the name you choose to share.
What your workflow receives
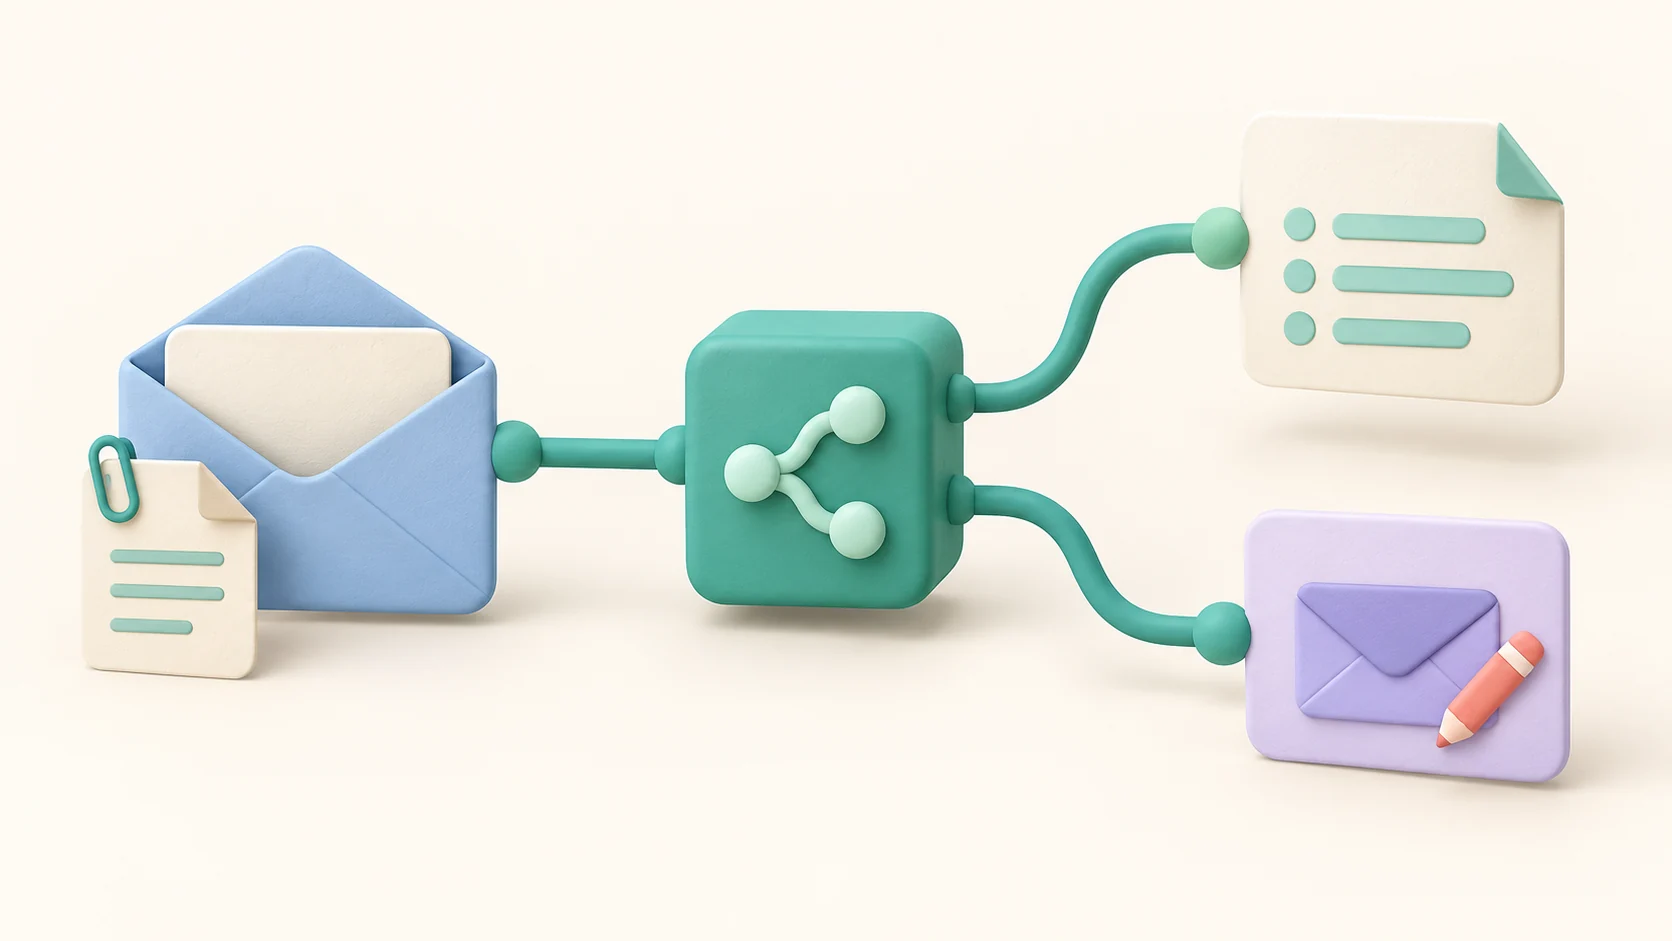
The Inbound Email Event node makes the message available through separate outputs. Addresses contains sender and recipient information. Content contains the subject, body previews, and file references for the complete bodies. Attachments provides filenames and file references for the documents you want to process.
There is also a Message reference for replying to the original email, plus a Mail Session reference for sending new messages from the automation. You can connect the parts you need to the next nodes in the flow.
For the invoice example, start by reading the attachment and extracting the fields your process needs. Check required values before writing a record. If the purchase-order reference is missing, route the result for review. If it is present, look it up through your existing system’s integration and continue from the match.
A model can help interpret varied wording or extract information from a document. Fixed workflow steps can handle the checks and updates that should happen the same way every time. The flow makes those choices visible and gives you somewhere to inspect an unexpected result.
Received file references are temporary. If the process needs an attachment later, copy it into your app’s storage during the run.
Let the workflow answer
When a response belongs in the original conversation, connect the Event’s Message and Mail Session outputs to the Message and Session inputs on Reply Platform Email, then supply the reply text. The reply operation uses the original message to determine the recipient and threading headers.
For a support workflow, you might retrieve a relevant answer, prepare a draft, and save it for review. Once you have defined which cases may be answered automatically, add the reply step to that branch. Your workflow controls when it sends; receiving an email does not send a response by itself.
Sending also needs outbound mail support on the connected server. If you run your own Flow-Like deployment, the mail setup guide covers receiving and sending configuration for your domain.
Give the next repetitive email somewhere to go
Pick a request you already handle by email. Build the flow for that one job, claim its available @flow-like.me alias, and send it a test message. Inspect the run, check the result, and then share the address with the people who need it.
Open Flow-Like and give your workflow an address. The next email can start the work.
Get automation insights delivered
Sign up for our newsletter to receive the latest updates on Flow-Like, automation best practices, and industry insights. No spam — just valuable content.